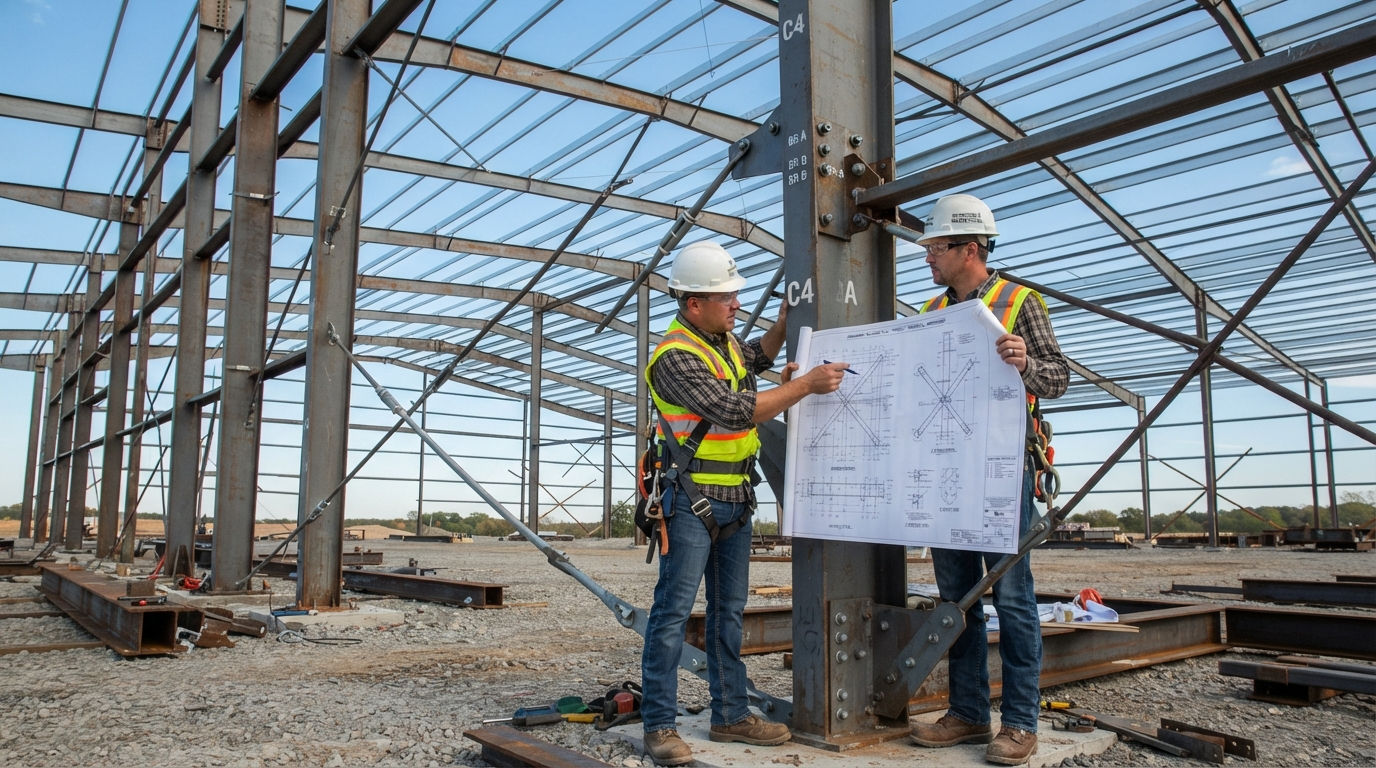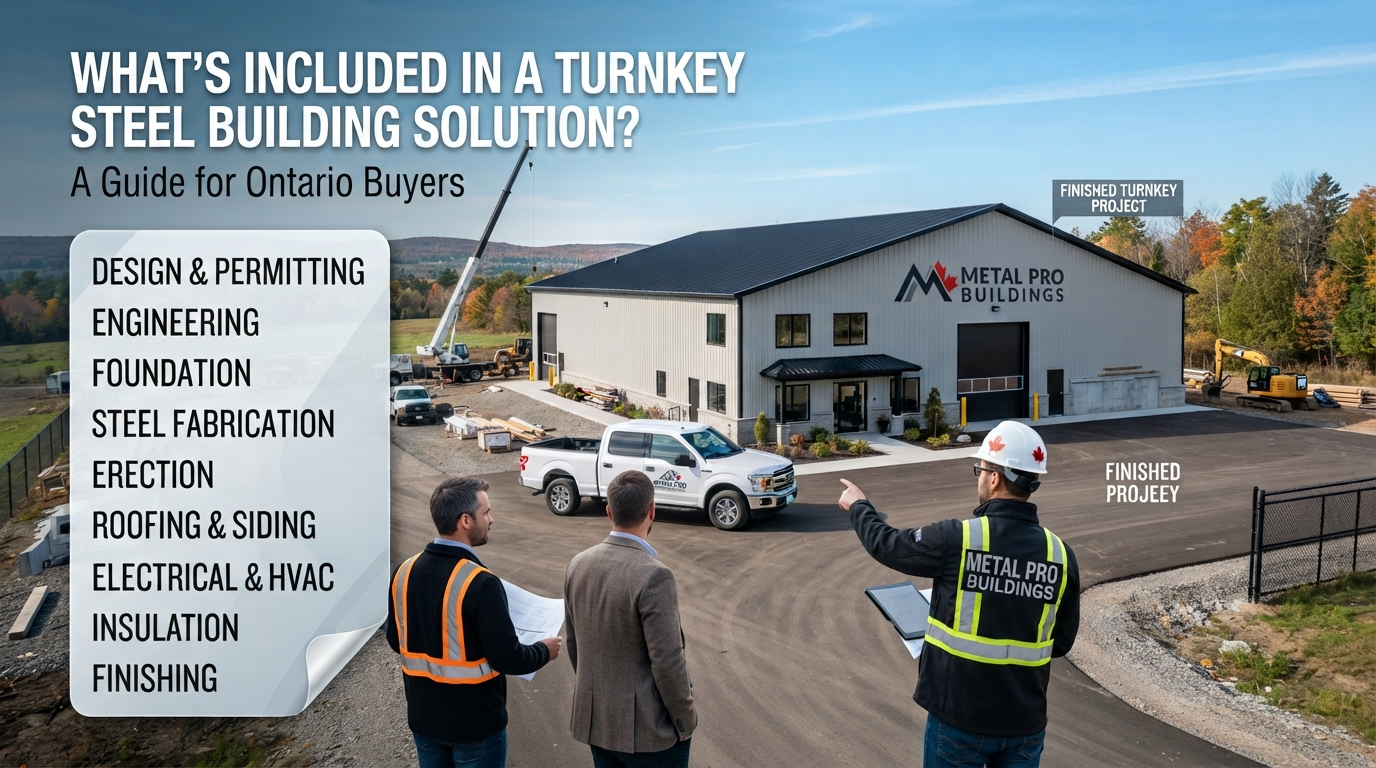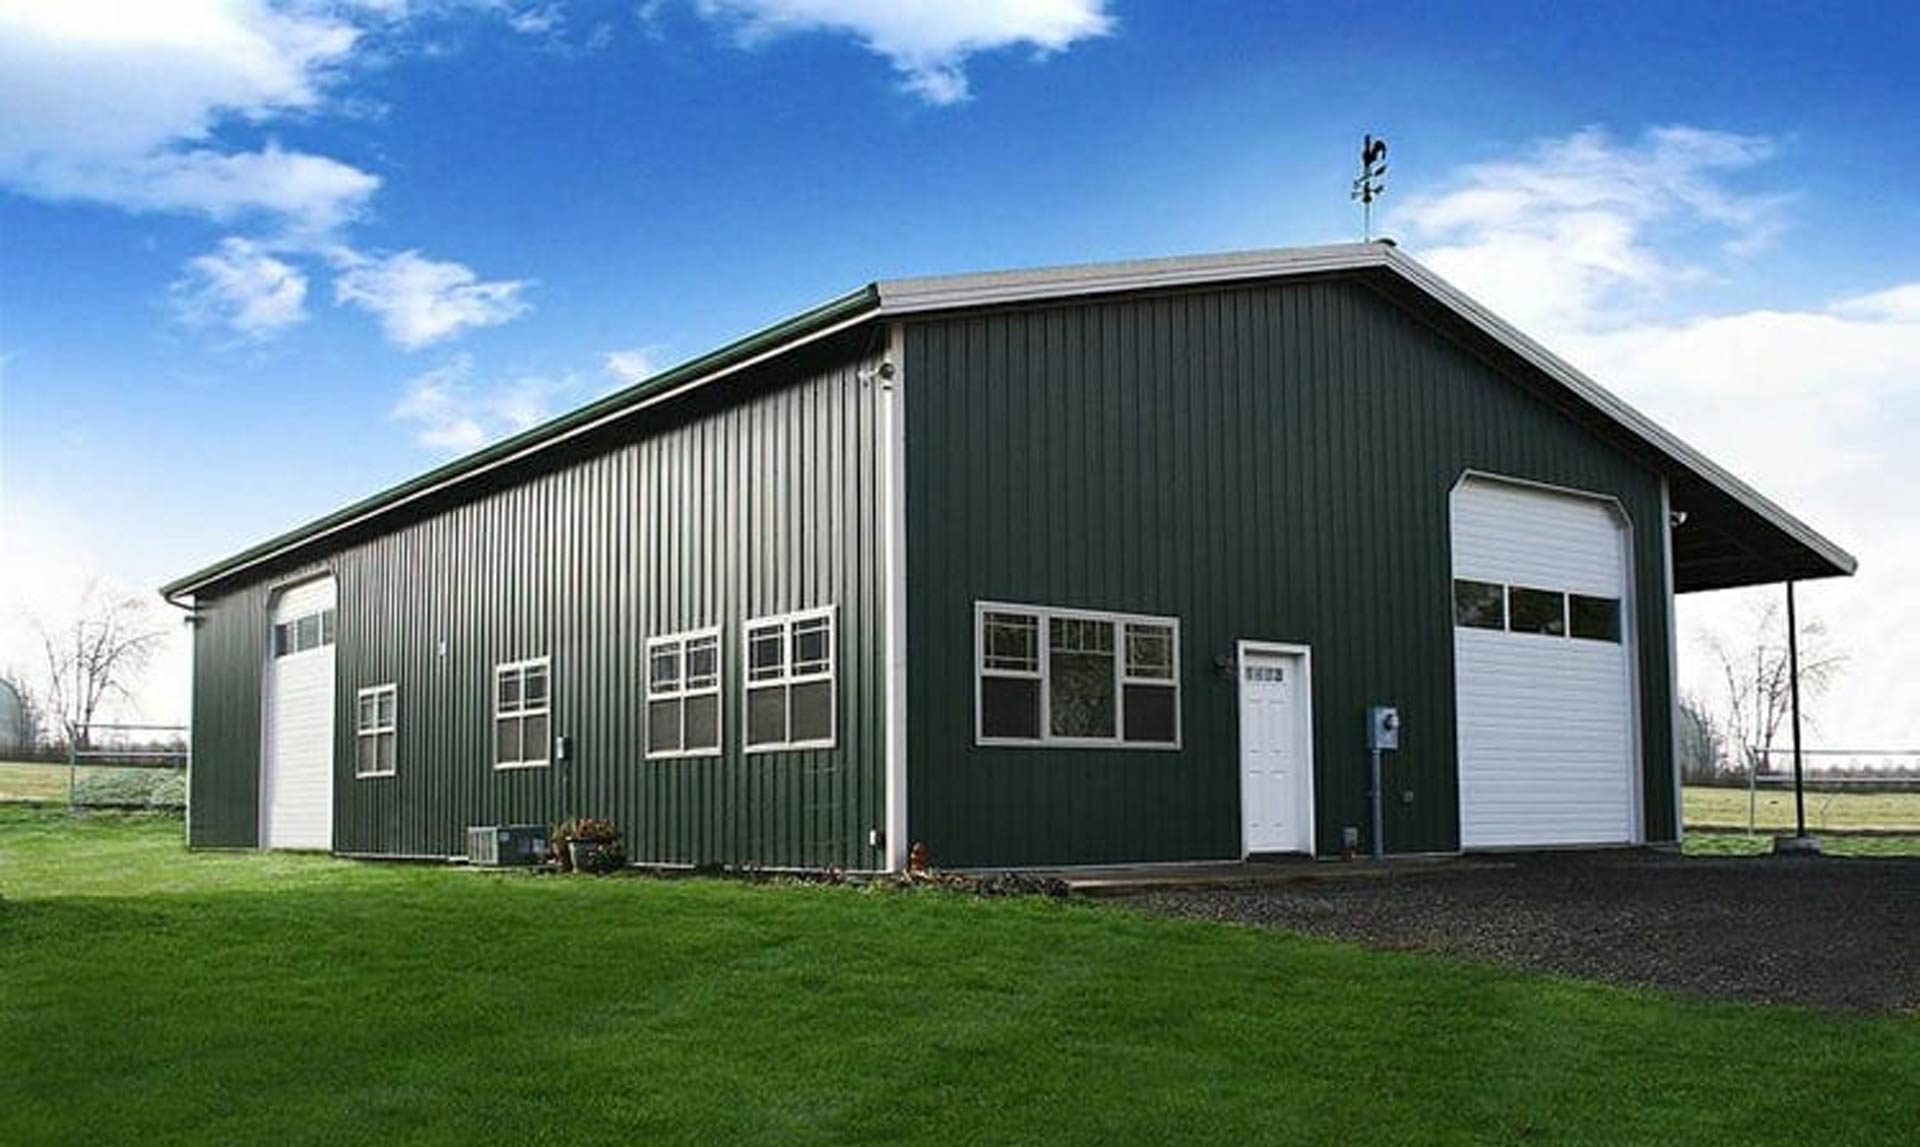

Picture it. A workshop with room for every tool. A barn that keeps your equipment dry. A shop with your name on the door.
You can see it clearly. Then the questions start. Where do I even start?
Buying a steel building in Canada can feel like a maze. Permits are confusing. Quotes don’t match. Delays pile up. One wrong move can cost you thousands.
Here’s the good news. The process has clear steps, and you don’t have to guess your way through. This guide walks you through the whole Metal Pro journey, from first idea to first day inside. By the end, no step will feel like a mystery.
Quick Answer: How Does Buying a Steel Building in Canada Work?
Buying a steel building in Canada follows seven clear stages. You define your needs, get an engineered design, and compare itemized pricing. Then you secure permits, prepare the site, build, and move in. Each stage builds on the last, so knowing the full path early saves time and money.
The 7 stages:
- Dream: Define your purpose, space, and budget
- Design: Get engineered plans built for Canadian conditions
- Price: Review a clear, itemized quote
- Permit: Secure local approvals
- Prepare: Ready the site and foundation
- Build: Take delivery and raise the structure
- Move In: Pass final inspection and start using your space
Why So Many Canadians Feel Overwhelmed Before They Even Start
You’re not alone if this feels like a lot. Most people start with a simple goal. Then the research begins, and it gets messy fast.
Here’s what usually gets in the way.
Scattered information. One site covers pricing. Another covers permits. A forum thread argues about foundations. Nobody connects the dots.
Vague quotes. Two suppliers quote the same building. The numbers look nothing alike. You can’t tell what’s included and what’s not. Here’s how to compare steel building quotes side by side.
Suppliers who disappear. The sale closes. Then the phone goes quiet. Questions about delivery or permits go unanswered.
Fear of paying twice. One missed detail can mean a redesign or a rebuild. That fear makes many buyers freeze.
Canada adds its own twist. Our weather is serious, and our rules vary by region.
- Snow loads differ a lot between a Prairie farm and a coastal BC lot.
- Wind loads change with open land, hills, and coastlines.
- Frost depth decides how deep your foundation must go.
- Building codes vary by province and by municipality.
A design that works in one town may fail inspection in the next.
It doesn’t have to feel this way. Here’s what a guided journey looks like.
The Metal Pro Buying Journey, Step by Step
Think of this as a map. Seven stops take you from a rough idea to a finished building. Each stop answers one big question, so you always know what comes next.
Let’s start at the beginning.
Step 1: Dream It (Define Your Purpose, Space, and Budget)
“I know what I want, but I don’t know what it takes.”
That’s where almost everyone starts. You can picture the building. You just can’t picture the plan yet.
Good news: this step is simpler than it sounds. Start with four questions.
- What will you use it for?
A workshop needs wide doors and strong lighting. A barn needs airflow and animal-safe layouts. A storage building needs easy truck access. Your use shapes every choice that follows. - How much space do you need?
Think about what goes inside today. Then add room for what you’ll own in five years. Count the equipment, the vehicles, the workbenches, and the walkways between them. - Will you want to expand later?
This is the question people skip. Adding on to a steel building is far easier when you plan for it early. Leave space on one end of your lot, and tell your designer. - What’s your budget range?
A rough range is enough for now. Include the building itself and the extras around it, like the foundation, delivery, and finishing. You’ll sharpen the numbers in Step 3.
Picture the finished space. Maybe it’s room for the business you’re growing. Maybe it’s a warm shop for weekend projects. Maybe it’s a place where the whole family can spread out.
Hold onto that picture. It guides every decision ahead.
Where Metal Pro fits in: You don’t have to sort this out alone. A free consultation turns your rough ideas into a clear plan. You talk. A specialist listens, asks the right questions, and helps you shape the details.
You leave with a plan, not just a pile of questions.
Step 2: Design It (Engineered for Canadian Conditions)
“Will it survive our winters?”
It’s a fair question. A building that can’t handle your climate is a costly mistake. The right design answers that worry before you spend a dollar on materials.
Start with pre-engineered steel. Pre-engineered means the building is designed as a complete system. Every beam, column, and panel is sized to work together. That gives you strength without wasted material.
Then make it fit your life. Pre-engineered doesn’t mean one-size-fits-all. You can customize:
- Size: Width, length, and height built around your use
- Doors: Overhead doors, walk-in doors, or wide sliding doors for equipment
- Insulation: Options for year-round comfort, from storage to a heated shop
- Colors: Panel colors that match your property or your brand
Your Region Changes the Design
Canada isn’t one climate. Your location sets the engineering rules.
- Prairies: Strong winds across open land, plus heavy cold and drifting snow
- Ontario and Quebec: Heavy snow loads and freeze-thaw cycles
- British Columbia: Big differences between coastal rain, mountain snow, and interior conditions
- Atlantic Canada: Coastal wind, wet snow, and salty air
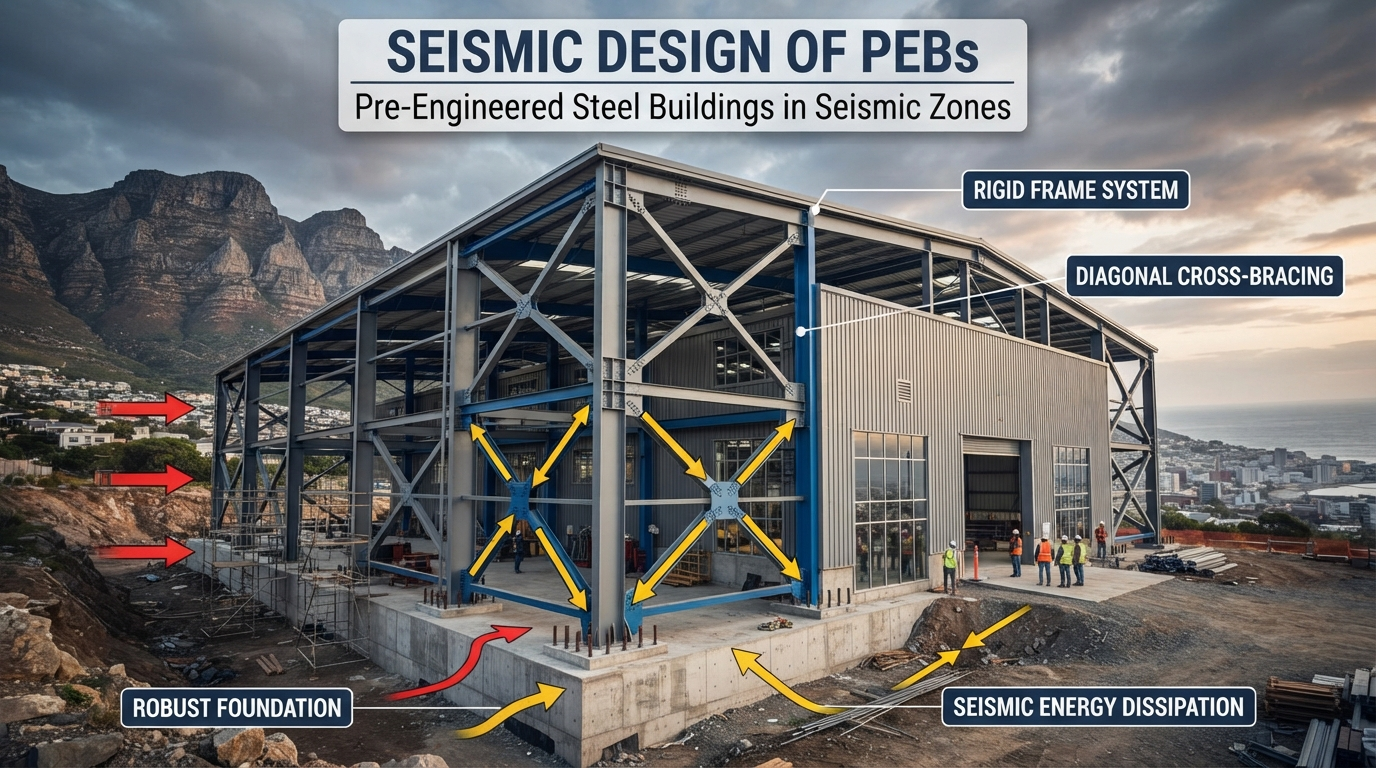
Your engineer uses local snow, wind, and seismic data for your exact site. That’s why two buildings of the same size can have very different designs.
Built Strong, Easy to Maintain
Steel handles heavy snow, high winds, and years of weather. It doesn’t rot, warp, or attract termites. Upkeep is mostly a quick wash and an occasional check of fasteners and trim.
Curious how steel holds up long term? See why steel makes sense →
Where we fit in: Every building we supply comes with stamped engineered drawings built for your location. Those drawings show your local loads and meet the code. They also help your permit go through faster, which we’ll cover in Step 4.
Step 3: Price It (Clear Quotes, No Surprises)
“I got two quotes, and I can’t compare them.”
Hidden costs are the top fear at this stage. A low number means little if half the project is missing from it. A good quote shows you the whole picture.
What a clear quote looks like
You should be able to read your quote and know exactly what you’re paying for. Look for an itemized breakdown that lists:
- The building package (frame, panels, trim, and fasteners)
- Doors and windows
- Any insulation or accessories
- Engineered drawings
Each line should be easy to read. If something is unclear, ask. A good supplier explains it without making you feel rushed.
What’s usually separate
Most steel building quotes don’t include everything needed to finish the project. Expect these to be priced separately:
- Foundation: Concrete work and site prep
- Delivery: Costs vary with distance and site access
- Insulation and interior finishing: If not part of your package
- Taxes: GST/HST and provincial taxes, depending on where you live
None of these are unusual. The problem comes when no one mentions them until late in the process.
An honest talk up front
That’s why we talk through the full project early. We’ll walk you through what’s in the quote and what’s not. You’ll know the real total before you commit.
The cost in short
Most steel building projects land in a wide range. Size, location, foundation needs, and finishing all move the number. Your total is the sum of the building plus everything around it.
Want the full breakdown? Read what a steel building costs in Canada →
Ready for real numbers? Request a no-pressure quote and we’ll put it all in writing, line by line.
Step 4: Permit It (Navigating Codes and Approvals)
“I just want to build. Why is the paperwork so confusing?”
Permits are where many projects stall. The forms are unfamiliar. The rules seem to change from town to town. And no one wants to guess wrong on a legal requirement.
Let’s break it down.
How the permit process usually works
Most municipalities require a building permit before construction starts. The steps look like this:
- Apply: Submit your application to the local building department.
- Include your documents: This usually means site plans, engineered drawings, and foundation details.
- Wait for review: The municipality checks your plans against local and national rules.
- Receive approval: Once approved, you can start work.
- Schedule inspections: Inspectors visit at key stages as you build.
Review times vary a lot. A small rural office may take days. A busy city may take weeks.
Codes: national rules, local twists
The National Building Code of Canada sets the baseline. Provinces then adopt it, and many add their own changes. Municipalities can add zoning rules on top.
That means requirements can differ on:
- Building size and height limits
- Setbacks from property lines
- Snow, wind, and seismic design
- Use type, such as farm, commercial, or residential
- Whether a small or agricultural building needs a permit at all
The last point surprises people. Some farm buildings and small structures are exempt in certain areas. Others are not. Never assume.
Want a deeper look at local rules? Read our guide to permits and zoning for metal buildings in Canada →
How engineered drawings speed things up
Reviewers need proof that your building meets code. Stamped engineered drawings provide it. They show the loads your building is designed for and how the structure handles them.
Clear documents mean fewer questions from the reviewer. Fewer questions mean fewer delays.
Watch out: Confirm your local requirements before you finalize the design. A quick call to your municipality can reveal setbacks, height limits, or load rules that change your plans. It’s much cheaper to adjust a drawing than a built structure.
Where we fit in: You shouldn’t have to guess what the permit office needs. We provide the engineered drawings and documentation for your application. If the municipality has questions about the design, we help you get answers.
Step 5: Prepare It (Site Prep and Foundation)
“Who does what? And what does the ground need?”
This is the step most buyers know the least about. The building arrives ready to assemble. The ground has to be ready first. And that part is usually on you.
Here’s what the work involves.
Start with a site assessment. Before anything gets built, someone should look at your land. They check the soil type, the slope, and how water moves across the lot. Soft clay, rock, and high water tables all change the foundation plan.
Then grade and drain. Grading shapes the ground so water flows away from your building. Poor drainage leads to heaving, cracking, and rust at the base. Good drainage protects your investment for decades.
Next, choose the right foundation. Canadian frost can push a shallow foundation up and out of line. That’s why depth matters. Your foundation must reach below the frost line or use frost-protected design.
You have two common options:
- Concrete slab: A flat, solid floor. It works well for workshops, garages, and commercial spaces. It also gives you a smooth surface for equipment and vehicles.
- Piers or footings: Concrete supports placed at key points. They can cost less and suit sloped or uneven land, or buildings with dirt or gravel floors.
Want the details on getting your base ready? See how to prepare a concrete foundation for a prefab metal building →
Your engineer specifies what your site needs. Your local frost depth and soil conditions drive that choice.
Who does the work?
Most buyers hire a local excavator and a concrete contractor. We provide the anchor bolt layout and foundation requirements for your building. Your contractor builds to those specs.
Plan around the Canadian calendar
Timing matters here. Concrete needs the right temperatures to cure well. Frozen ground can’t be excavated easily. Spring thaw turns rural roads soft, which can block heavy trucks.
Many buyers aim to pour the foundation in late spring through early fall. Book your contractors early, because the good ones fill up fast.
Watch out: Underestimating site prep is one of the most common causes of delays. Hidden rock, soft soil, or poor access can add days or weeks. Get your site assessed early, and build a small buffer into your schedule and budget.
Step 6: Build It (Delivery and Construction)
“What if it’s late? What if it arrives damaged?”
Waiting is the hardest part. You’ve planned, priced, and prepared. Now you’re watching the calendar and hoping the truck shows up on time.
Here’s what to expect.
Delivery across Canada
Steel building kits ship by flatbed truck. Everything arrives bundled, labelled, and ready to assemble.
Rural and remote sites need a little extra planning. Before delivery day, check these items:
- Road access: Can a long flatbed reach your site? Narrow lanes, tight turns, and soft shoulders can stop a truck.
- Seasonal limits: Spring thaw can bring road weight restrictions. Remote areas may rely on winter roads or ferries.
- Unloading space: You need a flat, clear spot for the bundles. You also need a way to unload them, such as a forklift or crane.
- Someone on site: A person should be there to check the order and sign for it.
Inspect on arrival. Count the bundles against the packing list. Look for dents, bends, or water damage. Note any problems on the delivery slip before the driver leaves. This protects you if a claim is needed.
DIY or hire a pro?
Both paths work. The right choice depends on your skills, your time, and your building.
- DIY erection: This can save labour costs. It suits smaller buildings and people with construction experience. You’ll need helpers, the right equipment, and patience. Follow the erection manual closely.
- Professional erection: A trained crew works faster and knows the common problem spots. It’s often the better choice for larger or taller buildings.
Safety matters either way. Steel framing is heavy, and work at height is risky. If you’re unsure, hire a crew.
How long does it take?
Timelines vary with size and complexity. A small building may go up in a few days. A large one can take several weeks. Weather, crew size, and site readiness all play a part. . Our steel building construction timeline shows how each phase fits together.
The moment it becomes real
Then comes the best part. The columns stand up first. Then the rafters go on, and the frame takes shape against the sky. The walls follow, and suddenly there’s a roofline where there was only open ground.
That’s the day the vision stops being a sketch. You can walk inside it, and it’s yours.
Step 7: Move In (Final Inspection to Occupancy)
“The building is up. What happens now?”
This is the final stretch. The frame is standing, but you’re not done yet. A few last steps turn a finished structure into a space you can use.
Here’s what comes next.
Final inspections
Your municipality will inspect the building before you can use it. Inspectors often visit at several stages, such as the foundation, the framing, and the finished work. The last visit confirms the building matches the approved plans.
Keep your permit documents and engineered drawings on site. Inspectors may ask to see them.
Occupancy approval
Once the building passes, the municipality can issue an occupancy approval. This is the official green light. For some uses, such as a shop with staff or a commercial space, it’s required before you open the doors. Rules differ by area, so check with your local office early.
Utilities and interior finishing
Now the space starts to feel like yours. Most buyers handle these tasks next:
- Electrical: Lighting, outlets, and power for equipment. A licensed electrician should do this work, and it usually needs its own permit and inspection.
- HVAC: Heating, cooling, and ventilation keep the space comfortable and control moisture. The right system depends on your use and your climate.
- Insulation finishing: Good insulation, along with a proper vapour barrier, prevents condensation. It also keeps heating costs down through a Canadian winter.
- Interior layout: Partition walls, offices, storage, and workstations come last.
Plan these tasks early. Ordering equipment and booking tradespeople while the frame goes up can save you weeks.
The first day in your space
Then comes the moment you pictured at the start. You roll up the door, carry in the first tools, and flip on the lights. The space is dry, solid, and built to last.
Now there’s more time for what matters. That might be growing your business, finishing a project, or simply having room to breathe.
Support after delivery
The journey doesn’t end when the keys change hands. We stay available after your building is up. If you have a question about maintenance, a warranty issue, or an add-on, you know who to call.
Watch out: Plan for future expansion now. If you may add a bay, a lean-to, or a longer building later, tell us before the design is final. A removable end wall and a clear stretch of land can save thousands down the road.
Before you commit, read the most common steel building mistakes and how to avoid them →
How Long Does the Whole Process Take?
Short answer: Most steel building projects take about 3 to 8 months from first consultation to move-in. Small buildings on simple sites can finish faster. Large or complex projects, or those facing slow permits and bad weather, can take longer.
A Realistic Timeline
| Stage | Typical Time | What Affects It |
| Dream and design | 1 to 4 weeks | How quickly you settle on size, use, and options |
| Pricing and approval | 1 to 2 weeks | Quote revisions and your decision time |
| Permits | 2 to 12 weeks | Municipal workload, local rules, and plan questions |
| Site prep and foundation | 2 to 6 weeks | Soil, weather, and contractor availability |
| Manufacturing | 4 to 12 weeks | Building size, custom features, and order backlog |
| Delivery | 1 to 3 weeks | Distance, road conditions, and site access |
| Construction | 1 to 8 weeks | Building size, crew size, and weather |
| Final inspection and finishing | 1 to 6 weeks | Inspector schedules, utilities, and interior work |
Some stages overlap. For example, you can prepare the site while your building is manufactured. That overlap is where you save the most time.
What Speeds Things Up
- Settling your plans early. Changes after the design is final slow everything down.
- Applying for your permit quickly. Permits are often the longest wait, so start early.
- Using complete, stamped drawings. Clear documents mean fewer reviewer questions.
- Booking contractors in advance. Good excavators and concrete crews fill their calendars.
- Building in the right season. Dry, mild weather keeps work moving.
What Slows Things Down
- Permit backlogs. Busy municipalities can take weeks longer than small offices.
- Weather. Rain, frozen ground, and spring thaw can pause work for days.
- Hidden site problems. Rock, soft soil, or poor drainage add surprise work.
- Peak season. Spring and summer are busy for manufacturers, haulers, and contractors.
- Late changes. Switching sizes, doors, or layouts after approval can mean a new permit review.
Tip: Work backward from the date you need the building. Then add a buffer of a few weeks. A little padding keeps one delay from becoming a crisis.
What Makes the Metal Pro Experience Different
Every pain point we covered at the start has a matching answer. Here’s what you can expect when you work with us.
One Point of Contact
Scattered information is a top frustration. So we give you one person to call from your first question to your final inspection.
You won’t repeat your story to five departments. One specialist knows your project and keeps it moving.
Engineered for Canada
A building should fit the place where it stands. Every design uses local snow, wind, and seismic data for your site. Stamped engineered drawings come with it, so your permit package starts strong.
That means less worry about winters, and fewer surprises at the permit office.
Transparent Quotes
You’ll get an itemized quote that shows what’s included and what isn’t. We also talk through foundation, delivery, and finishing early. No one likes a surprise bill, so we aim to remove them.
Support That Doesn’t Stop at the Sale
Many buyers fear a supplier who disappears. We stay in touch through delivery, construction, and after.
Backed by a Warranty
Your building is a long-term investment. Our warranty protects it. See exactly what’s covered and for how long →
Frequently Asked Questions
Ready to Start Your Journey?
Remember the picture from the start? The workshop with room for every tool. The barn that keeps your equipment dry. The shop with your name on the door.
That picture is closer than it feels. You now know the path: dream, design, price, permit, prepare, build, and move in. No step has to be a mystery.
You also know what to watch for. Check your local rules early. Plan your site prep. Think about future expansion now. These small moves prevent big, costly surprises.
You don’t have to figure it out alone. Our building specialists are ready to help. We’ll listen to your plans, answer your questions, and map out your next steps.
Your Next Step
Let’s turn your idea into a building you’ll use for decades.