Ever had your car pelted by hail or buried under a foot of snow overnight? Or maybe you’ve dealt with scorching sun fading your paint job and turning your car into an oven? If any of that sounds familiar, you’re not alone and there’s a simple, durable solution that many homeowners are turning to: building a metal carport.
A metal carport is a sturdy, open-sided shelter made from steel that offers reliable protection for your car, truck, RV, or even boats. It’s a smart choice if you don’t have a garage or simply need extra covered space. Whether you’re tired of scraping ice in winter or just want to protect your vehicle investment from the elements, a metal carport could be exactly what you need.
This article is designed for both hands-on DIYers and practical buyers looking to understand what it really takes to build a metal carport from start to finish. You’ll learn how to plan your build, gather the right tools and materials, follow a straightforward construction process, and get pro tips to make the job smoother and more cost-effective. By the end, you’ll know exactly how to tackle your project with confidence and avoid the common pitfalls that trip up first-timers.
Planning Your Metal Carport
Planning is the most important step when building a metal carport especially in Canada, where weather and permit rules vary greatly by region. Start by thinking through your specific needs. Are you protecting a compact car, a full-size pickup, or even a boat or RV? Measure the full length, width, and height of the vehicle including accessories like roof racks or trailers and give yourself at least two extra feet on all sides for clearance and movement.
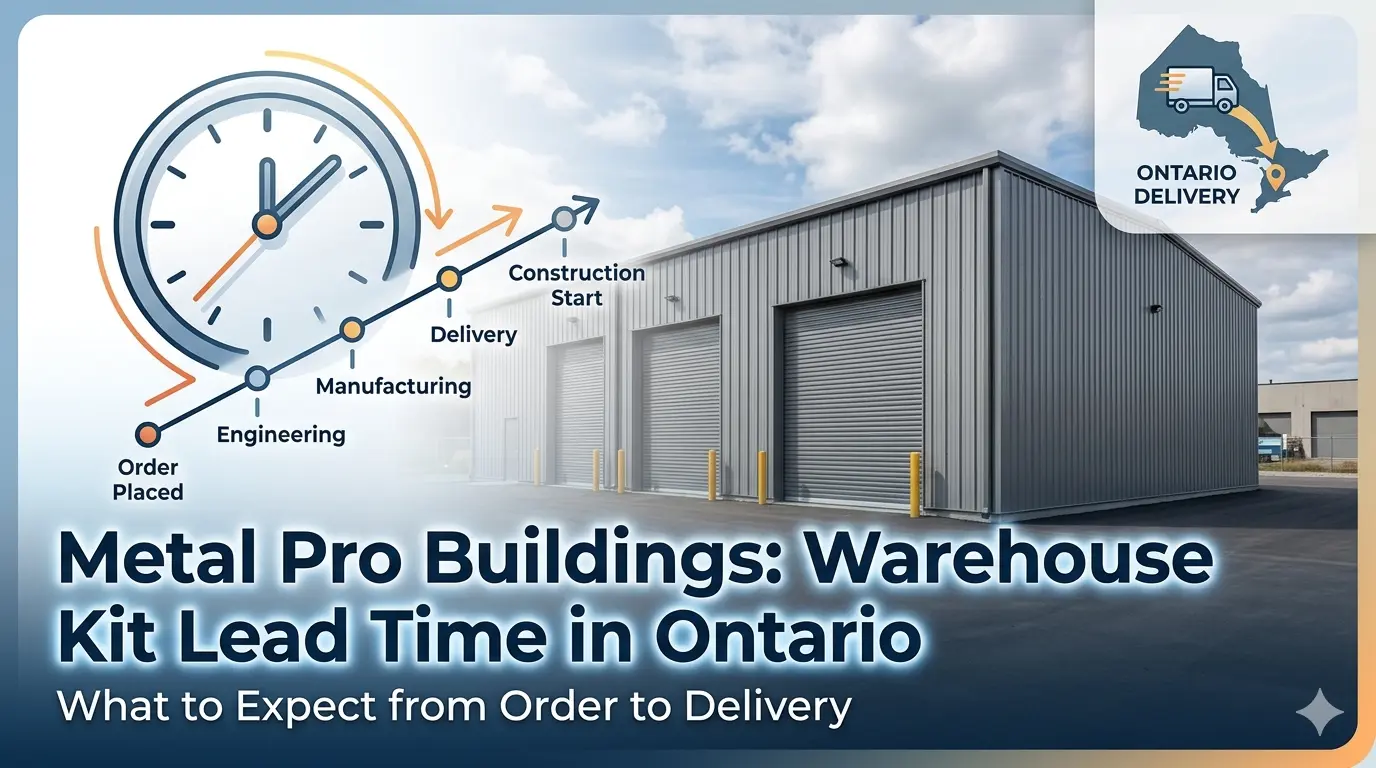
Weather also plays a big role. In much of Canada, carports must be designed to withstand heavy snow loads and strong winds. This is why high-quality steel kits, like those offered by Metal Pro™ Buildings, are built to meet Canadian snow and wind standards. Every structure we provide is engineered according to the National Building Code of Canada (NBCC) and includes detailed, stamped blueprints that most municipalities require for permit approval.
Next, location matters. Choose a level, well-drained area with easy access to your driveway. Avoid areas close to trees, underground pipes, or over septic tanks. If your site isn’t naturally level, you’ll need to budget for grading or foundation prep. You’ll also need to follow local zoning bylaws. Most cities and towns across Canada have setback rules, size restrictions, and building permit requirements even for smaller structures. Before you begin, check with your municipal office or local building department to find out what’s allowed in your area.
When it comes to choosing between a prefab carport kit or a custom design, prefab is often the smarter choice for homeowners looking to save time and money. At Metal Pro™ Buildings, our pre-engineered carport kits come complete with precision-cut steel panels, structural frames, anchor bolts, and easy-to-follow installation guides. For those who want to fully customize their size, shape, or features, our design specialists can help tailor a solution to meet even the most unique requirements all while ensuring it complies with provincial codes and permit expectations.
Proper planning sets the stage for a smooth build and long-lasting performance.
Tools & Materials Checklist
Before you start building, gather all the right tools and materials. Being prepared saves time and hassle. Here’s a clear breakdown:
Essential Tools
You’ll need a reliable post-hole digger or auger for digging deep footings down below the frost line in Canada. A level, tape measure, and string line will help ensure everything is straight. For cutting steel components, use a powered metal-cutting saw or angle grinder. Attachments include drill bits and nut drivers for metal screws and bolts. Don’t forget a sturdy ladder or scaffolding for installing roof panels. And add wrenches, a hammer, and pliers for fastening and adjustments .
Safety Gear
Prioritize safety especially with metal and power tools. Use safety glasses, work gloves, hard hats, and steel-toed boots. In cold weather, layer up to stay warm and maintain dexterity. If you’re using power tools, wear hearing protection and a dust mask .
Materials
Canada’s rough weather demands robust materials. Most carport kits such as those from Metal Pro™ Buildings include galvanized steel frames, AZ180 Galvalume Plus™ panels, and anchor bolts. These materials resist rust, withstand snow loads, and reflect heat. If you’re building custom, gather:
- Steel posts and cross-beams (size per engineer plans)
- Corrugated steel roofing panels
- Concrete for footings or slab foundation
- Galvanized lag screws (roofing screws)
- Sealing trim and flashing
You may also want gutters, sidewall enclosures, or solar panel mounts for upgrades
Optional Upgrades
Consider these extras to boost your carport’s function and style:
- Gutters and downspouts for managing roof runoff.
- Sidewall panels or roll-up doors for added protection.
- Solar-ready framing if you plan to add panels later, especially on a south-facing roof.
- LED lighting or electric outlets if it’s used as a workspace.
These can be added during assembly to ensure proper routing and structural support.
Step‑by‑Step Build Process
Building a metal carport is easier when you break it into clear, manageable steps. Here’s how to do it with confidence:
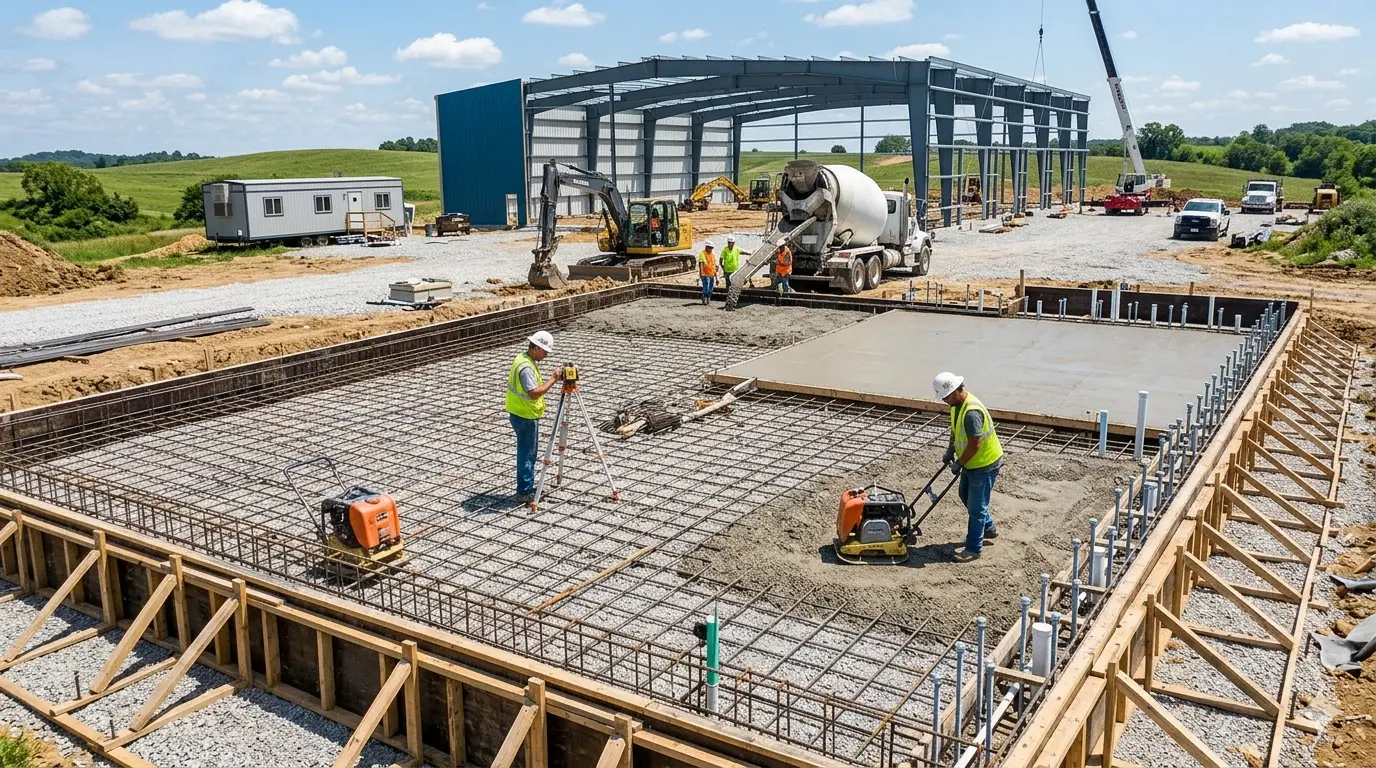
Site Prep & Foundation
Start by clearing the area of grass, debris, and rocks. Then mark out the carport’s footprint using stakes and string; this ensures accuracy later on. For Canadian climates, dig footings below the frost line (about 1.2 m in many regions). You can choose spread footings or concrete slab options. Pour concrete, insert anchor bolts, and let it cure fully before continuing .
Frame Assembly & Anchoring
Once your foundation is ready, start with the base rails. Lay them out, ensure they are square and level, and then secure them to the concrete anchors . Next, erect vertical posts and bolt them securely. Install horizontal beams or trusses as per your kit manufacturer’s guide. Double-check alignment and plumb for a strong frame.
Roof Panel Installation
With the frame up, attach purlins or bracing first if required. Lay each metal roof panel starting at one side and work across, overlapping edges for waterproofing. Use self-tapping screws with neoprene washers to prevent leaks . Don’t forget to install ridge caps and trim for a finished, weather‑tight seal .
Final Touches & Inspection
If you’re adding side panels, attach them now, aligning edges and tightening screws. Install flashing, trim, and apply sealant at all joints to prevent water ingress . Finally, inspect every bolt, anchor, and panel. Give the frame a mild shake to ensure it’s stable and secure .
Expert Tips for a Smooth Build
Building a metal carport in Canada brings unique challenges: snow, wind, and municipal rules can trip you up. These expert tips help you stay on track and avoid common mistakes.
Avoid Common DIY Mistakes
Many carport failures stem from poor anchoring, uneven foundations, and incorrect measurements. One top mistake is inadequate anchoring; even a gentle breeze can move an insecure structure . Make sure your foundation is level and your anchors whether concrete bolts or ground augers match local soil conditions .
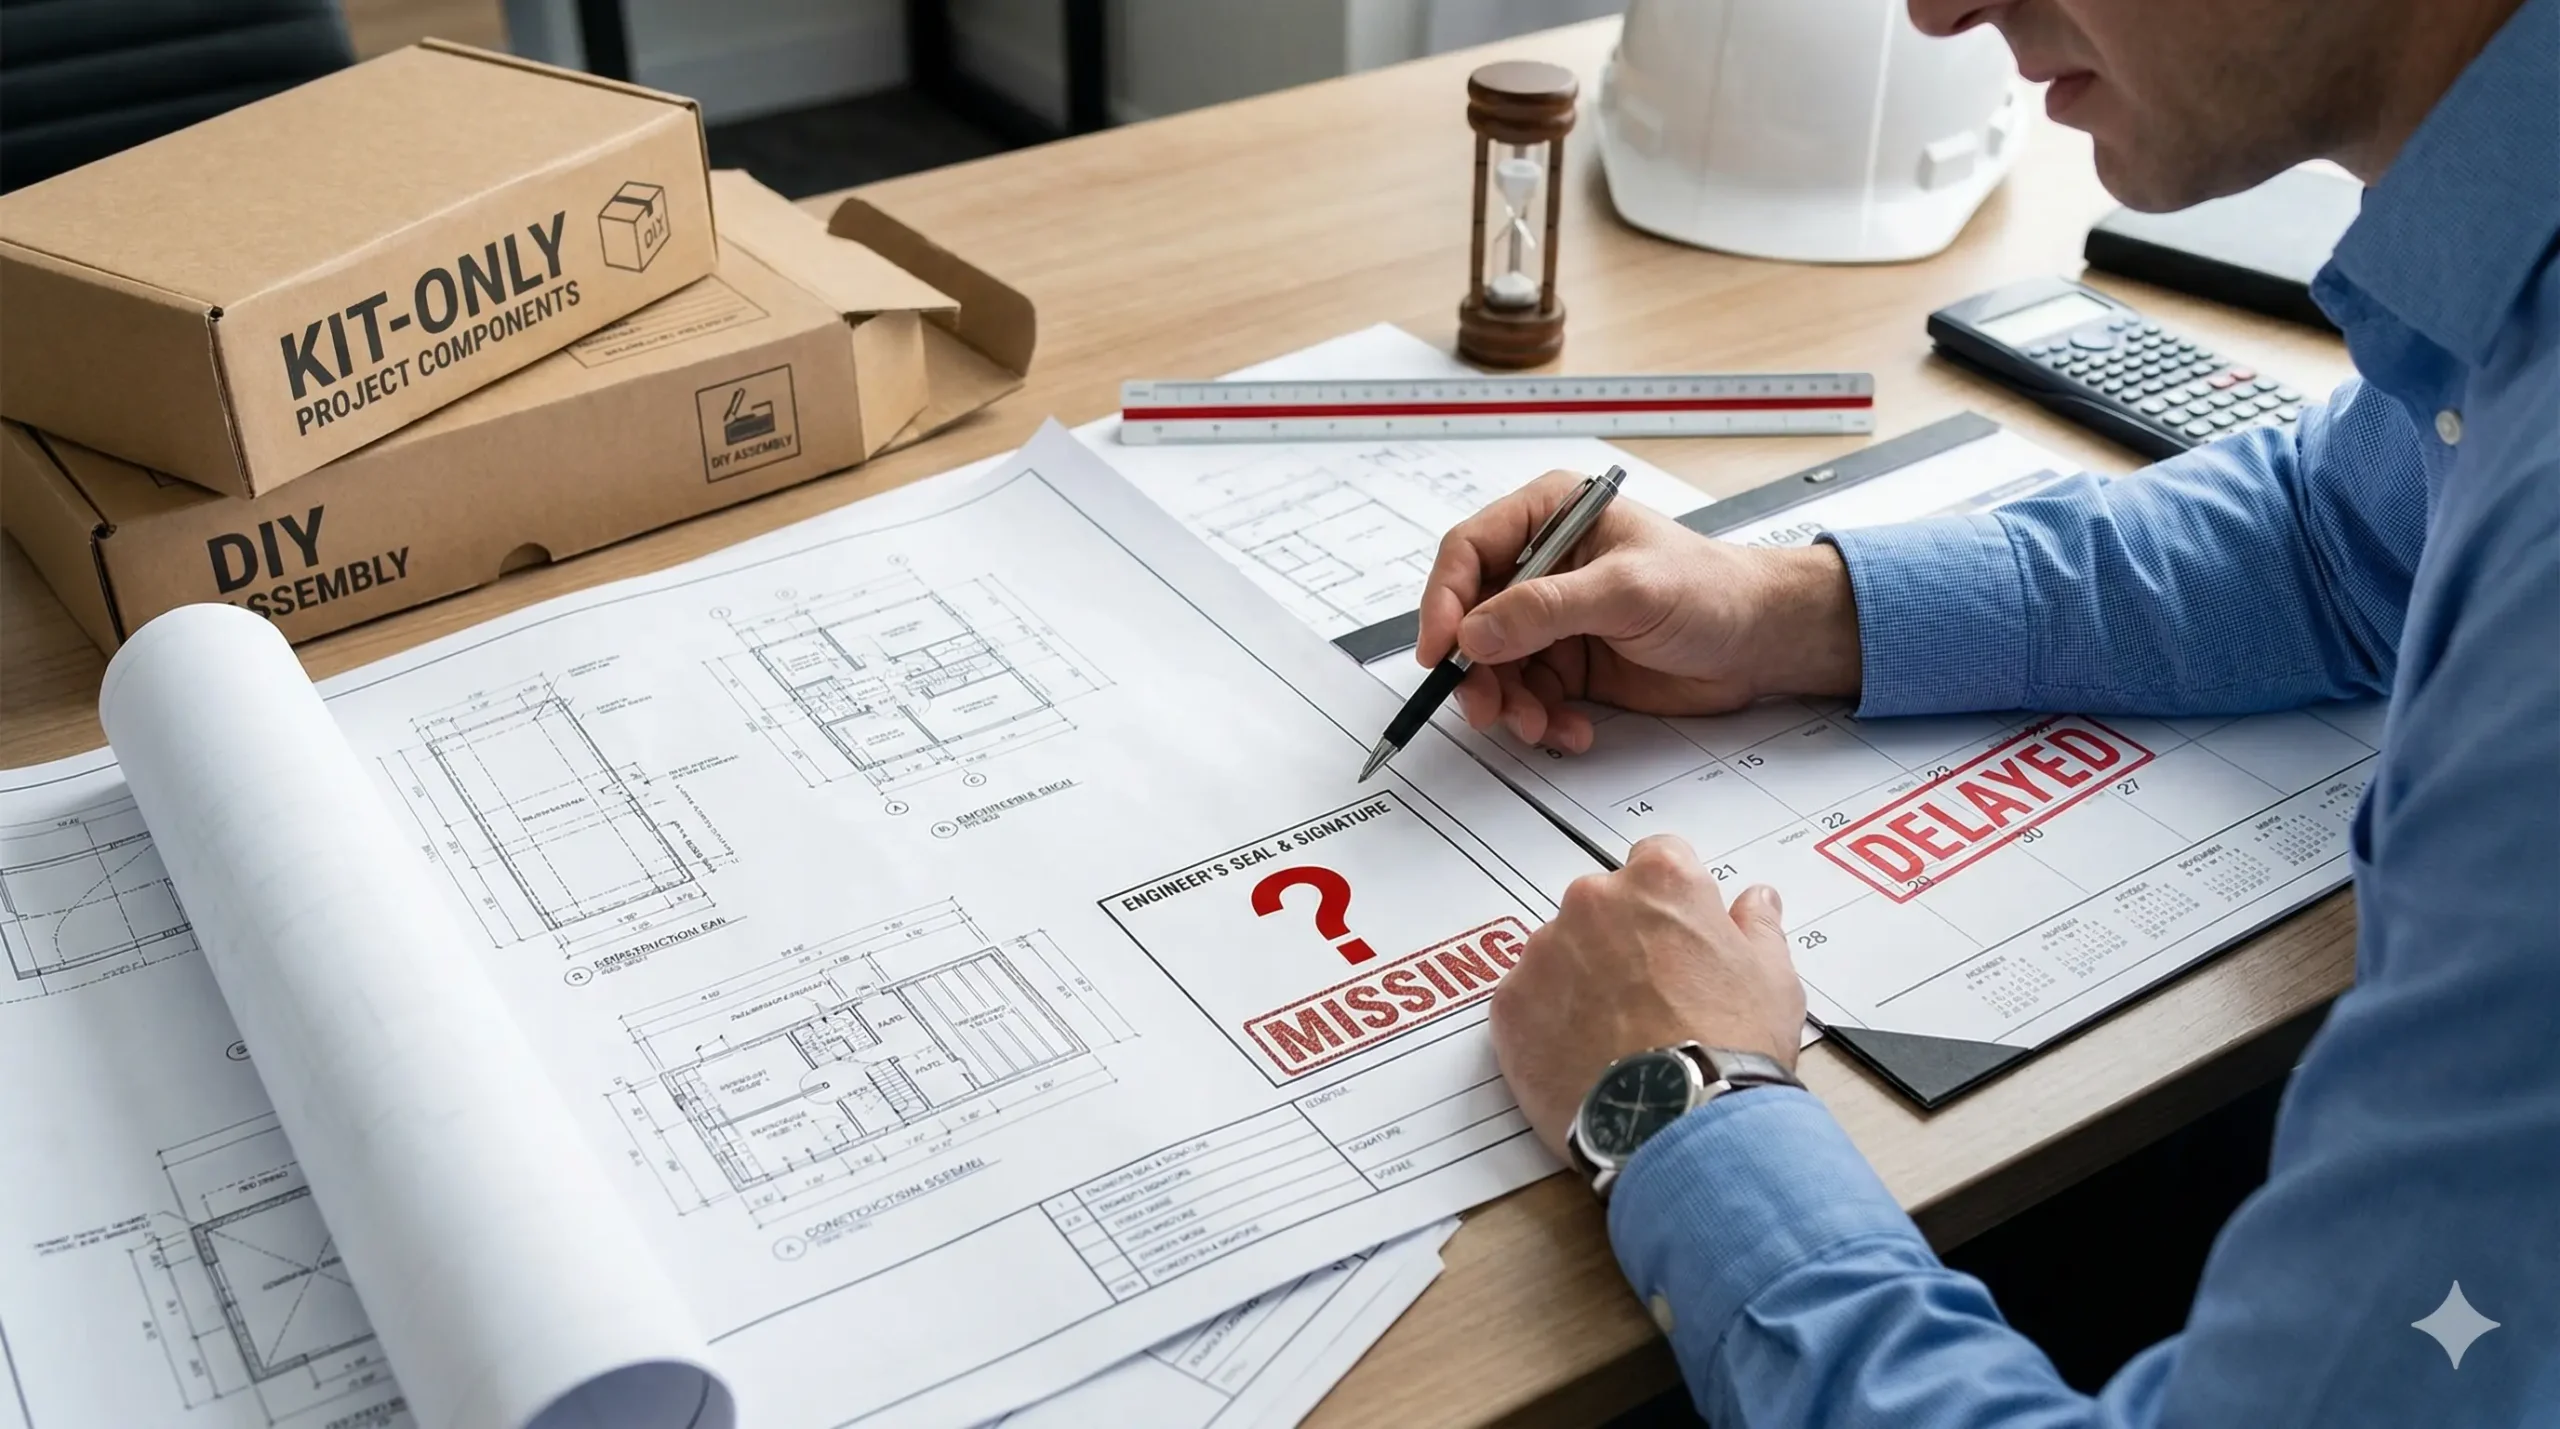
Another frequent oversight is skipping permits and inspections. Missing approvals can lead to fines or forced removal of your carport . Always verify local building codes and secure necessary permits.
Finally, professionals stress the importance of double-checking dimensions. Miscalculating space needs or failing to plan for snow clearance creates headaches during assembly .
Weather and Timing Considerations
Canada’s climate requires careful timing. Start with a solid concrete pad or deep footings below the frost line, typically around 1.2 m, to avoid frost-heave damage .
When installing roof panels, plan for the driest month possible. Wind and snow complicate assembly. Also, consider a sloped or peaked roof to shed snow easily flat roofs often trap weight, stressing the structure .
For exterior work in cold weather, keep supplies like sealant and screws close to 5–10 °C; this helps prevent brittleness and ensures proper sealing.
When to Call in a Pro
A prefab kit from Metal Pro™ Buildings can simplify the process, but sometimes a pro is necessary. Hire an engineer when your local code demands stamped drawings or if your site has complex grading.
Call a professional installer if your build includes sidewalls, roll-up doors, or integrated solar panels. These features require precision and structural expertise to avoid leaks, misalignment, or insufficient anchor strength.
Cost Breakdown
Understanding the costs helps you budget smart and avoid surprises. Here’s a clear breakdown of expenses for both DIY and professional carports in Canada.
DIY Cost Estimate
If you go the DIY route, you only pay for materials and tools. Basic metal carport kits priced in Canada start at around CAD $5 per sq ft for simple designs. Most high-quality kits typically cost CAD $20–$40 per sq ft when engineered for snow loads and including stamped drawings .
For example:
- A 20’×20′ (400 sq ft) one-car carport: materials cost between CAD $8,000–$16,000.
- If you add foundation prep (concrete), tools rental, and permit fees, expect another CAD $2,000–$4,000.
A 20’×20′ structure ends up around CAD $10,000–$20,000 total comparable to Canadian averages for sturdy metal builds .
Professional Installation Costs
Hiring pros adds labour but saves you time and stress. In Canada, full-service installation (site prep, concrete, kit assembly) typically runs CAD $75–$130 per sq ft for custom metal builds .
Using our 20’×20′ example:
- Labour alone: CAD $30,000–$52,000.
- Total with materials: CAD $40,000–$70,000 for a high-spec custom build.
Simple prefab builds with contractor help usually stay under CAD $30,000 including labour .
Cost‑Saving Tips and Hidden Expenses
Speed up savings with these strategies:
| Tip | Explanation |
|---|---|
| Right‑size your carport | Avoid overbuilding. One‑car (20’×20′) is cheaper than two‑car models even if space allows. |
| Prep site yourself | Clearing land and grading saves hundreds if not thousands in labour fees. |
| Shop off‑season | In late fall or winter contractors are often less busy and may offer lower rates. |
| Choose a prefab kit | Metal Pro’s kits include engineering, warranties, and skip costly custom work. |
| Read permit rules | Know what’s included in your municipal permit scope, some charge by build area. |
| Avoid over‑customization | Extras like roll‑up doors, electricity, or enclosed walls can add 50–100% more to costs . |
DIY vs Contractor: Value Comparison
- DIY approach: Total cost ~CAD $10K–$20K, depending on size and prep work.
- Professional build: Total cost ~CAD $30K–$70K, tailored and hassle-free.
- Break-even: If you can build in 1–2 weekends, DIY typically saves 40–60%, even after factoring in tools and time.
Conclusion
Building a metal carport in Canada doesn’t have to be overwhelming. With careful planning, the right tools, and a solid kit like those offered by Metal Pro™ Buildings, you can protect your vehicles from harsh weather while adding lasting value to your property.
Remember to assess your needs, check local permits, and choose between a prefab kit or custom design based on your budget and skills. Follow the step-by-step build process, use quality materials, and heed expert tips to avoid common pitfalls. And when it comes to cost, DIY kits offer great savings but professional installation can save you time and stress.
Ready to get started? Request a free quote or talk to one of our experts to design a carport that fits your space, style, and budget.
Taking action today means you’ll soon enjoy a durable, weatherproof carport built to last for decades. Whether you’re a hands-on DIYer or prefer professional help, your perfect metal carport is just a click away.