It’s 2am. Your metal building project is underway, and you bolt upright in bed with a sinking feeling.
“Did I plan for a floor drain? What about the EV charger? Did we size that panel right?”
That anxiety is real and it’s not irrational.
Retrofitting utilities in a pre-engineered metal building isn’t like patching drywall in a wood-frame house. It means cutting concrete, rerouting steel, and paying for work that should have been done once. Homeowners and business owners lose thousands of dollars this way every year.
The good news? Every single one of those costly surprises is avoidable.
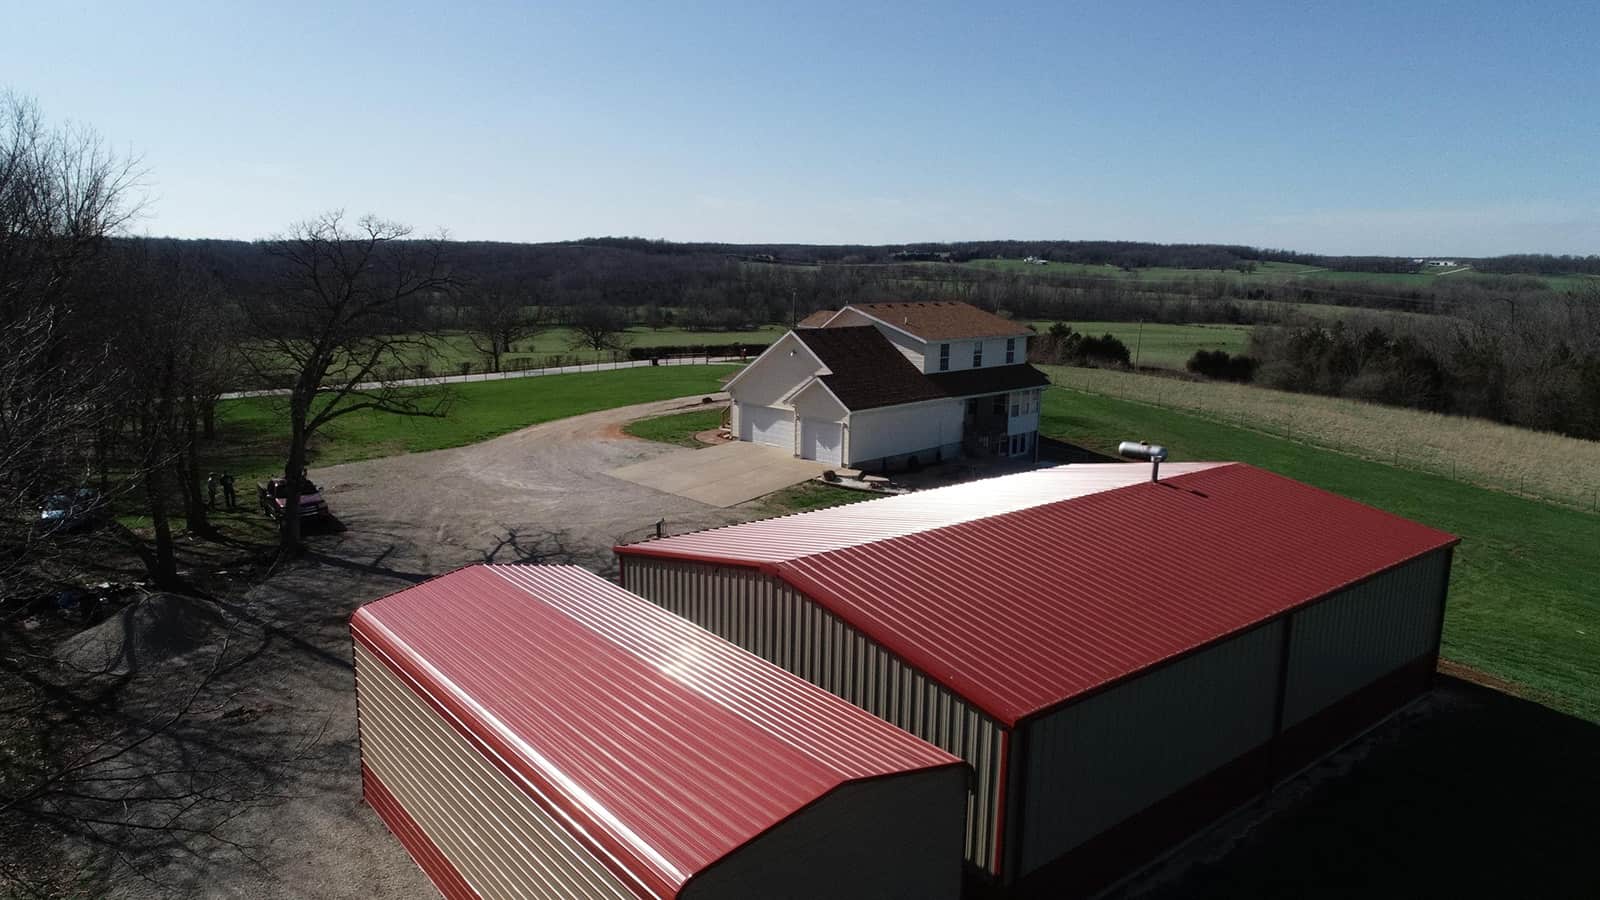
This guide walks you through exactly what to plan, when to plan it, and how working with the right builder like Metal Pro ensures nothing slips through the cracks. Whether you’re building a workshop, a commercial facility, or an agricultural structure, getting utilities right starts long before the first bolt is tightened.
Why Metal Buildings Are Different (And Why It Matters)
When something goes wrong in a wood-frame building, it’s often fixable. You cut into drywall, reroute a pipe, add a circuit. It’s not fun, but it’s doable.
Metal buildings don’t offer that same forgiveness.
Underground utility connections need to be run before the concrete foundation is poured or the metal building is assembled. Once that slab is down and the steel frame is up, your options narrow dramatically and your costs climb fast.
There’s a very specific window to get utilities right. It opens during the design phase and closes the moment concrete starts curing.
The steel structure itself is part of the challenge. Pre-engineered metal buildings are designed with purlins supporting the roof and girts providing lateral stability, while steel columns form the skeleton of the building. Every conduit run, every pipe stub, every junction box has to work around that fixed steel skeleton not through it the way you might notch a wood stud.
This is where generalist contractors get into trouble. They’re used to wood-frame logic: frame it, then figure out the utilities. In metal buildings, that approach leads to expensive rework, code violations, and missed inspections.
Underground lines are much easier to install first, cutting into metal siding or concrete later to accommodate them is far more costly. Builders who specialize in pre-engineered metal structures know this. Those who don’t often learn it on your dime.
The good news is that when you plan utilities correctly before design is finalized a metal building is actually one of the most efficient structures you can build. The problems only start when that planning is skipped or rushed.
Electrical Planning: What You Need to Lock In Early
Electrical planning for a metal building isn’t just about running wire. It’s about making decisions before the steel goes up that you’ll live with for decades.
Size for the Life You’re Building, Not Just Today
Think five years ahead , not just right now.
A welder, an air compressor, an EV charger, a mini-split HVAC unit. Each of these is a future “maybe” that becomes a very expensive retrofit if you didn’t plan for it.
The cost of upgrading your service down the road because you want to add a hot tub or air conditioner is going to be a lot more than bumping up to a larger service in the beginning. The same logic applies to metal buildings only more so.
So what size panel do you actually need?
A 200-amp panel is the standard for modern builds and can handle up to 48,000 watts at 240V service. For a basic workshop, that’s likely enough. But if you’re planning a commercial facility, a wash bay, or multiple high-draw tools running at once, 400-amp service is worth serious consideration. When sizing your panel, add a capacity margin of 10–30% for future expansion. It costs almost nothing to do this now and a lot to fix later.
For safety, the NEC recommends keeping your load below 80% of your panel’s capacity. Plan around that ceiling, not up against it.
Conduit Routing in Steel
In a wood-frame building, electricians can notch studs and fish wire through walls. Metal buildings don’t work that way.
Exposed conduit EMT or rigid metal conduit is often the preferred and code-compliant solution in metal buildings. Steel and stainless steel RMC, IMC, and EMT are all recognized by the NEC as equipment grounding conductors, which makes them both practical and code-friendly in a steel-framed structure.
The key is mapping conduit routes before insulation or liner panels go in. Every run has to navigate around structural steel members columns, girts, and purlins. Route that conduit after panels are up and you’re fighting the building instead of working with it.
Plan your routes during design. Mark them on paper. Coordinate with your electrician before a single bolt is tightened.
Grounding, Lighting, and Subpanels
Grounding in a metal building is non-negotiable and it’s more involved than a typical wood-frame structure.
Metal conduits that house entrance wires or cables must be securely connected to a grounding electrode or the building’s grounding electrode system. The steel frame itself must also be properly bonded. This isn’t improvised in the field, it’s engineered and planned.
Lighting layout is another early decision. In a metal building, fixtures have to work around the framing, not fight it. Decide where your bays, workspaces, and task areas are before framing is finalized. Then your lighting layout can follow the structure naturally.
Finally: subpanels and spare circuits. Optimal placement of a subpanel should be approximately two-thirds of the way between the main panel and the longest branch circuit; this minimizes wire runs and saves real money. And always install spare breaker spaces. Always buy the biggest panel you can afford, and bigger than what you think you need you will never regret it.
A few empty breaker slots today are cheap insurance for tomorrow.
Plumbing Planning: The Slab Is Everything
If electrical planning has a narrow window, plumbing has an even narrower one. In a metal building on a concrete slab, the decisions you make before the pour are locked in permanently.
Below-Grade Work Must Be Decided Before the Pour
Here’s the hard truth about slab-on-grade construction: because plumbing rough-in happens prior to the concrete pour, layout accuracy becomes crucial long before the first wall is built.The expression “set in stone” takes on a very literal meaning here.
Drain locations, waste lines, and water supply stubs all need to be mapped on paper first and confirmed before a single yard of concrete is ordered. Once the concrete slab has been poured, things literally become “cast in stone,” and placing lines after the fact can be an expensive task at best.
The horror story is real: needing a floor drain after four inches of concrete has already cured means cutting, breaking, and re-pouring. That’s not a small fix; it can run thousands of dollars and weeks of delay. If repairs are needed, accessing pipes buried under a slab often means breaking through the concrete, a noisy, costly, and invasive process.
Plan it on paper first. Every time.
Supply Lines, DWV, and Freeze Protection
Not all plumbing is equal and sizing matters more than people think.
Waste lines beneath a concrete slab must have the proper downward slope. They cannot be placed perfectly flat or running uphill. Lines also need to be sized appropriately for the number of bathrooms that will be using them.
A single utility sink has very different demands than a commercial wash bay or a full employee restroom.
Before slab pouring, position drain and vent pipes precisely at exterior wall corners to avoid future access issues. Use PVC or ABS piping with proper slope one-quarter inch per foot for drainage. Secure pipes with rebar ties to prevent movement during the concrete pour.
Vent stacks through a metal roof deserve special attention. Whenever possible, coordinate the plumbing and mechanical trades with the roofing installer. Pipes intersecting panel seams create water dams and leaks, and can impede expansion and contraction of the roof panel. Always aim to place pipes in the center of the roof panel pan.
In cold climates, freeze protection is non-negotiable. Prolonged cold temperatures cause plumbing vent stacks to ice up and form a blockage as warm moist air rises, condenses, and freezes. Supply lines running through unheated spaces need proper insulation or heat trace cable before walls close in around them.
Restrooms, ADA, and Fire Suppression
If your metal building will include a restroom, ADA rough-in dimensions must be set before walls go up. This isn’t something you adjust later.
The toilet should be installed with the top of the seat between 17 and 19 inches above the floor, and located between 16 and 18 inches from the side wall to the centerline. A toilet room must also provide a turning space of a minimum of 60 inches in diameter to allow someone in a wheelchair to maneuver properly
ADA compliance involves more than adding a grab bar or two. It requires creating a space where individuals with disabilities can comfortably and safely use the facilities including considerations for door width, sink height, and turning space for wheelchairs. Every one of those dimensions must be committed to paper before framing begins.
Fire suppression is another planning item that catches people off guard. When a sprinkler system is required based on building occupancy, square footage, or local code it affects the entire structural plan. Sprinkler heads, supply lines, and riser locations all have to coordinate with steel framing. Discovering this requirement after the frame is up creates significant redesign work.
Know your fire suppression obligations before design is finalized, not after.
The Sequencing Problem Nobody Talks About
Here’s what most people don’t realize about metal building construction: every phase has a hard deadline for utility decisions.
Miss one, and the cost of fixing it multiplies.
The timeline flows in one direction design, then slab, then erection, then rough-in, then finish. Underground utilities, storm drains, and slab penetrations must be planned and excavated before steel delivery.
That’s not a suggestion. It’s the sequence. And once you move past any phase, reversing course is expensive.
Think about what that means in practice. A decision that costs $500 during design can cost $5,000 after the slab pours and $25,000 once walls are up. Running utility rough-ins to unequipped areas during initial construction costs a fraction of retrofitting those same runs through finished walls and ceilings later. The math is brutal, and it doesn’t care when you have the idea.
Early planning minimizes unexpected expenses by preventing rushed purchases, rework, and schedule-driven cost increases. But in metal buildings specifically, “early” means before design is finalized, not before the slab, not before erection. Before the drawings are locked.
This is the sequencing problem nobody talks about openly. Construction projects fail when surprises hit mid-build. Poor planning leads to budget overruns, schedule delays, and frustrated stakeholders who watch costs spiral beyond original estimates.
So what does proper pre-construction utility planning actually look like?
It starts with a dedicated walkthrough before anything else is finalized. Every electrical load gets identified. Every drain location gets mapped. Every vent stack, subpanel, and hose bib gets a spot on paper. Trades are brought in early, not called in after the steel arrives.
Pre-construction work allows all parties to work together to successfully plan the construction phase with early detection of possible interferences, better coordination, and increased project planning and development.
That’s exactly how Metal Pro approaches every project. The pre-construction utility walkthrough isn’t optional, it’s the first conversation. Because the most expensive utility problem is the one nobody planned for until it was too late.
Why Your Builder Makes or Breaks This
There’s a hard truth about metal building projects: the builder you choose determines how much of this you ever have to think about.
A generalist contractor is capable and well-intentioned. But a specialized steel building contractor brings essential skills that a generic builder simply might not have from mastering complex supply chains to navigating the very specific code requirements for steel structures.
That gap shows up most clearly in utility planning, where metal building sequencing is its own discipline.
A generalist doesn’t know what they don’t know. They may treat utility planning the way they would on a wood-frame job reactive, phase-by-phase, figured out as they go. On a metal building with a poured slab and fixed steel framing, that approach is expensive.
While hiring specialists directly may seem less expensive initially, poor coordination can lead to delays, rework, and additional costs that exceed the fees of a properly managed project. That’s not a theoretical risk, it’s a pattern that plays out on metal building jobs across the country when trades are brought in too late and the sequencing isn’t managed by someone who knows the structure.
The right builder does this differently.
A seasoned contractor acts as your central hub for communication and accountability coordinating architects, engineers, subcontractors, and material suppliers which prevents costly miscommunications and keeps your timeline firmly on track.
That’s exactly how Metal Pro approaches every project. Utility planning isn’t an afterthought, it’s the first conversation. Before designs are finalized, before a slab is scheduled, Metal Pro conducts a dedicated pre-construction utility walkthrough. Every electrical load gets identified. Every drain location gets mapped. Vetted trade partners are brought in early, not called the week steel arrives.
The result? Clients don’t have to carry the anxiety of wondering what they missed. They don’t wake up at 2am second-guessing their panel size or whether they forgot a floor drain.
They handed the project to people who have done this hundreds of times and they got to focus on what they’re actually building.
Quick Checklist: Before You Break Ground
This is the list worth printing out and pinning to your wall before a single shovel breaks dirt. Go through every item. Confirm every box. The things you catch here cost almost nothing to fix. The things you miss will cost plenty.
Electrical Checklist
Panel & Service
- Determine service size needed 100A, 200A, or 400A based on actual projected load, not just current needs
- Confirm required service voltage and available utility capacity, and coordinate early with the local utility provider regarding transformer placement, metering, easements, and lead times
- Add a 10–30% capacity margin for future expansion before finalizing panel size
- Keep total planned load below 80% of panel capacity per NEC recommendations
Conduit & Wiring
- Map all conduit routes around structural steel members columns, girts, and purlins before insulation goes in
- Use GFCI protection where required damp, wet, and outdoor locations and select conduit type based on environment: RMC for exterior or chemical-exposure areas, EMT for indoor runs
- Label every circuit and circuit modification clearly on the panel directory with its specific purpose
Grounding & Bonding
- Bond all metal structural components to the grounding electrode system not optional, not improvised
- Confirm all metal enclosures and conduit systems containing service conductors are bonded together per NEC 250.92
- Install intersystem bonding terminals at the service disconnect location
Lighting, Subpanels & Future Circuits
- Plan lighting layout around framing bays confirm fixture locations before liner panels are installed
- Position any subpanels strategically to minimize wire run lengths
- Install spare breaker spaces budget for circuits you’ll wish you had in three years
- Account for EV readiness: install conduit pathways and reserve electrical capacity for future chargers, even if not immediately needed
Plumbing Checklist
Below-Slab Rough-In
- Finalize all drain locations, waste lines, and water supply stubs on paper before scheduling the concrete pour
- Use proper slope one-quarter inch per foot on all drain lines. For toilet drains, use 3-inch PVC; for shower drains, use 2-inch PVC. Cap all stub-outs securely and label each pipe clearly
- Ensure no pipes are directly embedded in concrete all pipes passing through concrete must be protected, and voids around piping passing through concrete floors must be appropriately sealed
- Add extra capped stub-outs now for any future fixtures, even if not immediately planned
DWV & Vent Routing
- Plan for vertical stacks, loop vents, or code-compliant AAVs improper venting is one of the most common reasons new builds fail inspection
- Coordinate vent stack penetrations through the metal roof with your roofing installer before panels are set placement in the center of the roof panel pan prevents water infiltration
- Confirm all DWV layout drawings match architectural and mechanical plans before permit submission
Freeze Protection & Supply Lines
- Size supply lines for actual fixture demand a single sink has very different needs than a wash bay or commercial restroom
- Confirm water service is buried deep enough to protect from freezing minimum is typically 18 inches below grade, or 12 inches below frost level, depending on local jurisdiction
- Insulate supply lines running through unheated bays, or spec heat trace cable before walls close in
ADA, Restrooms & Fire Suppression
- Confirm ADA rough-in dimensions and commit them to the plan before framing begins toilet centerline, turning radius, door clearances, and sink heights
- Determine fire suppression requirements based on occupancy type, square footage, and local code before structural design is finalized
- Coordinate with city water departments and sewer agencies early some locations require dual water lines for fire suppression systems .
Build It Right the First Time
Every costly utility mistake has one root cause: decisions made too late.
Metal Pro has done this hundreds of times. The planning, coordination, and sequencing are built into every project so nothing gets missed and nothing gets retrofitted.
You just need to start the conversation before you break ground.
Schedule Your Free Consultation Today , Let’s talk before you break ground.